
Disassembling office cubicles sounds simple at first. People are often surprised when they run into missing screws or awkward panels that do not budge. Yet most are shocked to learn that losing or mismanaging hardware during teardown is one of the top reasons cubicles cannot be reassembled correctly later. Knowing how to avoid those pitfalls makes all the difference.
Table of Contents
- Essential Tools And Safety Preparation
- Step-By-Step Cubicle Disassembly Process
- Tips For Storing Or Disposing Cubicle Parts
- Common Mistakes And Solutions
Quick Summary
| Takeaway | Explanation |
|---|---|
| Gather essential tools before starting. | Ensure you have a complete toolkit including screwdrivers, wrenches, and safety gear to avoid injuries and complications. |
| Follow a systematic disassembly process. | Assess and document the cubicle setup, then remove components in a specific order to minimize damage and facilitate reassembly. |
| Organize and label all hardware. | Use labeled containers to store screws and attachments separately; this prevents loss and simplifies future reconstruction. |
| Prioritize safety protocols throughout. | Wear appropriate protective gear, use proper lifting techniques, and maintain a clean workspace to prevent accidents during disassembly. |
| Consider recycling or donating components. | Sort cubicle parts into reusable, recyclable, or disposable categories, and seek eco-friendly disposal methods to minimize waste. |
Essential Tools and Safety Preparation
Preparing for cubicle disassembly requires more than just enthusiasm and strength. Proper tools and safety precautions are critical to ensuring a smooth, efficient, and injury-free process. Professional movers understand that successful disassembly starts with careful preparation and the right equipment.
Gathering the Right Tools
Before beginning the disassembly process, you will need a comprehensive toolkit that includes several essential items. According to NIOSH guidelines on workplace safety, having the proper tools not only makes the job easier but also significantly reduces the risk of injury.
Your essential toolkit should include:
Here is a summary table to help you quickly identify the essential tools and their specific uses during the cubicle disassembly process.
| Tool | Purpose/Use |
|---|---|
| Phillips Screwdriver | Remove screws from panels and accessories |
| Flathead Screwdriver | Remove specific fasteners and pry off attachments |
| Adjustable Wrench | Loosen/tighten nuts and bolts |
| Allen Key Set | Detach hex-screw-connected components |
| Work Gloves | Protect against sharp edges and splinters |
| Safety Glasses | Shield eyes from possible debris |
| Measuring Tape | Measure components for reassembly and storage |
- Screwdrivers: A set of Phillips and flathead screwdrivers in various sizes
- Adjustable Wrench: For loosening and tightening nuts and bolts
- Allen Key Set: Many cubicle connections require specific hex key sizes
- Work Gloves: Protect your hands from sharp edges and potential splinters
- Safety Glasses: Shield your eyes from potential debris during disassembly
- Measuring Tape: Track component dimensions and ensure proper reassembly
Safety Protocols and Personal Protection
The National Institute for Occupational Safety and Health emphasizes that equipment maintenance and personal safety are paramount during any workplace task. When disassembling office cubicles, follow these critical safety guidelines:
First, clear the workspace of unnecessary items and ensure you have ample room to maneuver. Remove all personal items, electronics, and loose objects from the cubicle before starting. Wear closed-toe shoes with good traction to prevent slipping, and consider wearing a lightweight, long-sleeved shirt to protect against potential scratches.
Before lifting or moving any components, assess their weight and size. Large cubicle panels can be heavy and awkward to handle. If a piece seems too heavy, always request assistance from a colleague or professional moving team. Proper lifting techniques involve bending at the knees, keeping your back straight, and using your leg muscles to bear the weight.
Additionally, organize your workspace to minimize trip hazards. Create a clear staging area where disassembled components can be safely placed and sorted. Keep your tools within easy reach but away from potential falling paths. By maintaining a clean, organized environment, you reduce the risk of accidents and make the disassembly process more efficient.
Remember that patience and careful attention to detail are your best tools. Rush the process, and you risk personal injury or damage to the cubicle components. Take your time, follow safety protocols, and approach the task methodically.
Step-by-Step Cubicle Disassembly Process
Disassembling office cubicles requires a systematic approach that ensures efficiency, prevents damage, and allows for potential future reassembly. Understanding the structural components and their interconnections is crucial for a successful disassembly process.
Initial Assessment and Preparation
Before beginning the disassembly, conduct a thorough assessment of the cubicle structure. According to the General Services Administration’s Pre-engineered and Prefabricated Buildings Ordering Guide, proper preliminary evaluation is essential for successful furniture removal.
Start by documenting the current configuration with photographs or sketches. This will serve as a valuable reference for potential future reassembly or layout recreation. Carefully remove all personal items, office equipment, and loose accessories from the cubicle. Disconnect and safely remove any electrical components such as computer cables, power strips, or desk lamps.
Systematic Deconstruction Technique
The deconstruction process follows a specific order that minimizes potential damage and ensures manageable component removal. Library of Congress research on office furniture history highlights the importance of understanding furniture design for effective disassembly.
Begin with removable elements like shelves, panels, and modular attachments. Systematically unscrew and detach these components, keeping all hardware organized and labeled. Use small containers or zippered bags to store screws, bolts, and connectors corresponding to their specific cubicle section. This prevents losing critical parts and simplifies future reassembly.
Below is a process table summarizing the recommended step-by-step cubicle disassembly order, including key actions for each stage.
| Step | Key Actions |
|---|---|
| 1. Initial Assessment | Photograph/sketch current setup, remove personal items, disconnect electronics |
| 2. Remove Accessories | Take off shelves, modular attachments, and small removable parts |
| 3. Organize Hardware | Store screws, bolts, connectors in labeled containers/bags |
| 4. Dismantle Panels & Frames | Systematically unscrew/detach larger panels, work from top to bottom |
| 5. Release Floor/Ceiling Connections | Carefully disconnect stabilizers and structural links |
| 6. Stage Components | Place grouped, protected parts in designated area for storage/transport |
Proceed with larger structural elements like wall panels and support frames. Work methodically from top to bottom, ensuring each component is fully disconnected before removal. For panels connected by interlocking mechanisms, carefully release these connections without applying excessive force. Learn more about efficient moving techniques to ensure smooth furniture handling.
Pay special attention to connections at floor and ceiling levels. Some cubicle systems might have additional stabilizing mechanisms that require careful manipulation. Use your adjustable wrench and screwdrivers to methodically release these connections. If panels are heavy or awkward, always have a colleague assist you to prevent potential injury or damage.
Finally, create a designated staging area where disassembled components can be neatly organized and protected. Group similar parts together and wrap fragile sections in protective materials like bubble wrap or moving blankets. This not only prevents damage during transportation but also facilitates easier reassembly or storage.
Remember that patience and precision are key. Rush the process, and you risk damaging expensive office furniture or creating unnecessary complications. Take your time, follow each step carefully, and maintain a systematic approach throughout the disassembly process.
Tips for Storing or Disposing Cubicle Parts
After disassembling office cubicles, you face an important decision: how to responsibly manage the leftover components. The process involves careful consideration of storage, potential reuse, recycling, and environmentally conscious disposal methods.
Sorting and Categorizing Components
The U.S. Environmental Protection Agency emphasizes the importance of waste prevention and strategic material management. Begin by thoroughly sorting cubicle parts into distinct categories: reusable components, recyclable materials, and items requiring special disposal.
Start by organizing hardware like screws, bolts, and connectors into clearly labeled containers. Group panels, frames, and modular attachments separately. Inspect each component for damage or wear. Intact pieces can be stored for future use, potential resale, or donation. Damaged sections should be evaluated for recycling potential.
Recycling and Sustainable Disposal Options
According to the General Services Administration’s Sustainable Facilities Tool, proper waste management involves strategic recycling and disposal approaches. Many cubicle components are made from recyclable materials like metal, plastic, and certain composite materials.
Contact local recycling centers specializing in office furniture materials. Some facilities accept specific types of cubicle components, particularly metal frames and plastic panels. Confirm their acceptance criteria beforehand. For electronic components like integrated power strips or lighting fixtures, seek certified electronic waste recyclers who can handle these specialized items safely.
Consider donation as an alternative to disposal. Explore our expert moving resources for additional insights on responsible furniture management. Community organizations, schools, nonprofit centers, and small businesses might welcome functional cubicle parts. Platforms like FreeCycle or local business networking groups can help connect you with potential recipients.
For components that cannot be recycled or donated, consult professional waste management services. Some specialized disposal companies can break down complex office furniture materials more effectively than standard recycling centers. They ensure that potentially hazardous materials are processed according to environmental regulations.
If storing components for future use, choose a clean, dry environment protected from moisture and extreme temperatures. Use sturdy plastic containers with secure lids to prevent dust accumulation and potential damage. Label each container with detailed contents and original cubicle system information. This approach simplifies future reassembly or repurposing efforts.
This checklist table makes it easy to track how to sort and decide the fate of each cubicle component after disassembly.
| Component Type | Action | Notes/Criteria |
|---|---|---|
| Hardware (screws, bolts) | Organize and label | Store in containers; match to corresponding section |
| Panels/Frames | Inspect and categorize | If intact: store, resell, or donate; if damaged: recycle |
| Modular Attachments | Group and evaluate | Keep together; match to cubicle type |
| Electrical Components | Separate and recycle E-waste | Use certified recyclers for safe handling |
| Non-recyclable Parts | Arrange for specialized disposal | Use professional waste management if not recyclable |

Remember that responsible disposal is not just about clearing space. It represents a commitment to environmental sustainability and resource conservation. By carefully managing cubicle parts, you contribute to reducing waste and supporting a circular economy approach to office furniture management.
Common Mistakes and Solutions
Disassembling office cubicles might seem straightforward, but numerous potential pitfalls can complicate the process. Understanding these common mistakes and their solutions can help you navigate the deconstruction process more effectively and prevent costly errors.
Structural Damage and Mishandling
The Harvard Business Review highlights that workspace modifications require careful consideration and precision. One of the most frequent mistakes during cubicle disassembly is improper handling that leads to structural damage.
People often underestimate the complexity of cubicle connections, which can result in unnecessary force applied to delicate components. When removing panels or frames, resist the temptation to pull or twist aggressively. Instead, carefully inspect connection points and use appropriate tools to gently release mechanisms. If a connection seems resistant, pause and reassess rather than applying excessive pressure.
Another common error involves inadequate documentation of the original configuration. Without proper reference materials, reassembly becomes significantly more challenging. Take detailed photographs from multiple angles before disassembly, and consider creating a basic schematic that maps out how different components interconnect.
Hardware and Component Mismanagement
Cornell University’s Ergonomics Web emphasizes the importance of proper handling techniques to prevent potential injuries and equipment damage. A critical mistake many people make is losing or misplacing small hardware like screws, bolts, and connectors during the disassembly process.
To mitigate this risk, implement a systematic organization strategy. Use clearly labeled, compartmentalized containers for different types of hardware. Create a labeling system that matches specific hardware to their original components. For instance, use small zip-lock bags or magnetic parts trays and mark each with the exact location and type of hardware they contain.
Additionally, avoid mixing hardware from different cubicle systems. Even seemingly identical screws can have subtle variations that prevent proper reassembly. If possible, keep hardware from each cubicle set completely separate to prevent potential complications during future reconstruction.
Safety and Ergonomic Oversights
The School Building Maintenance Manual provides insights into the importance of careful inspection and methodical approach during structural modifications. Many individuals overlook critical safety considerations during cubicle disassembly.
Common safety mistakes include attempting to move heavy panels alone, failing to use proper lifting techniques, and neglecting personal protective equipment. Always assess the weight of components beforehand and request assistance for heavier sections. Wear sturdy work gloves, closed-toe shoes, and safety glasses to protect against potential injuries.
Learn more about efficient moving strategies to ensure a smooth and safe disassembly process. Remember that rushing through cubicle deconstruction increases the likelihood of mistakes. Patience, careful planning, and a methodical approach are your best tools for successful furniture management.
By understanding and anticipating these common mistakes, you can transform a potentially challenging task into a smooth, efficient process.
The following summary table highlights the most common mistakes made when disassembling cubicles and recommended solutions for each.
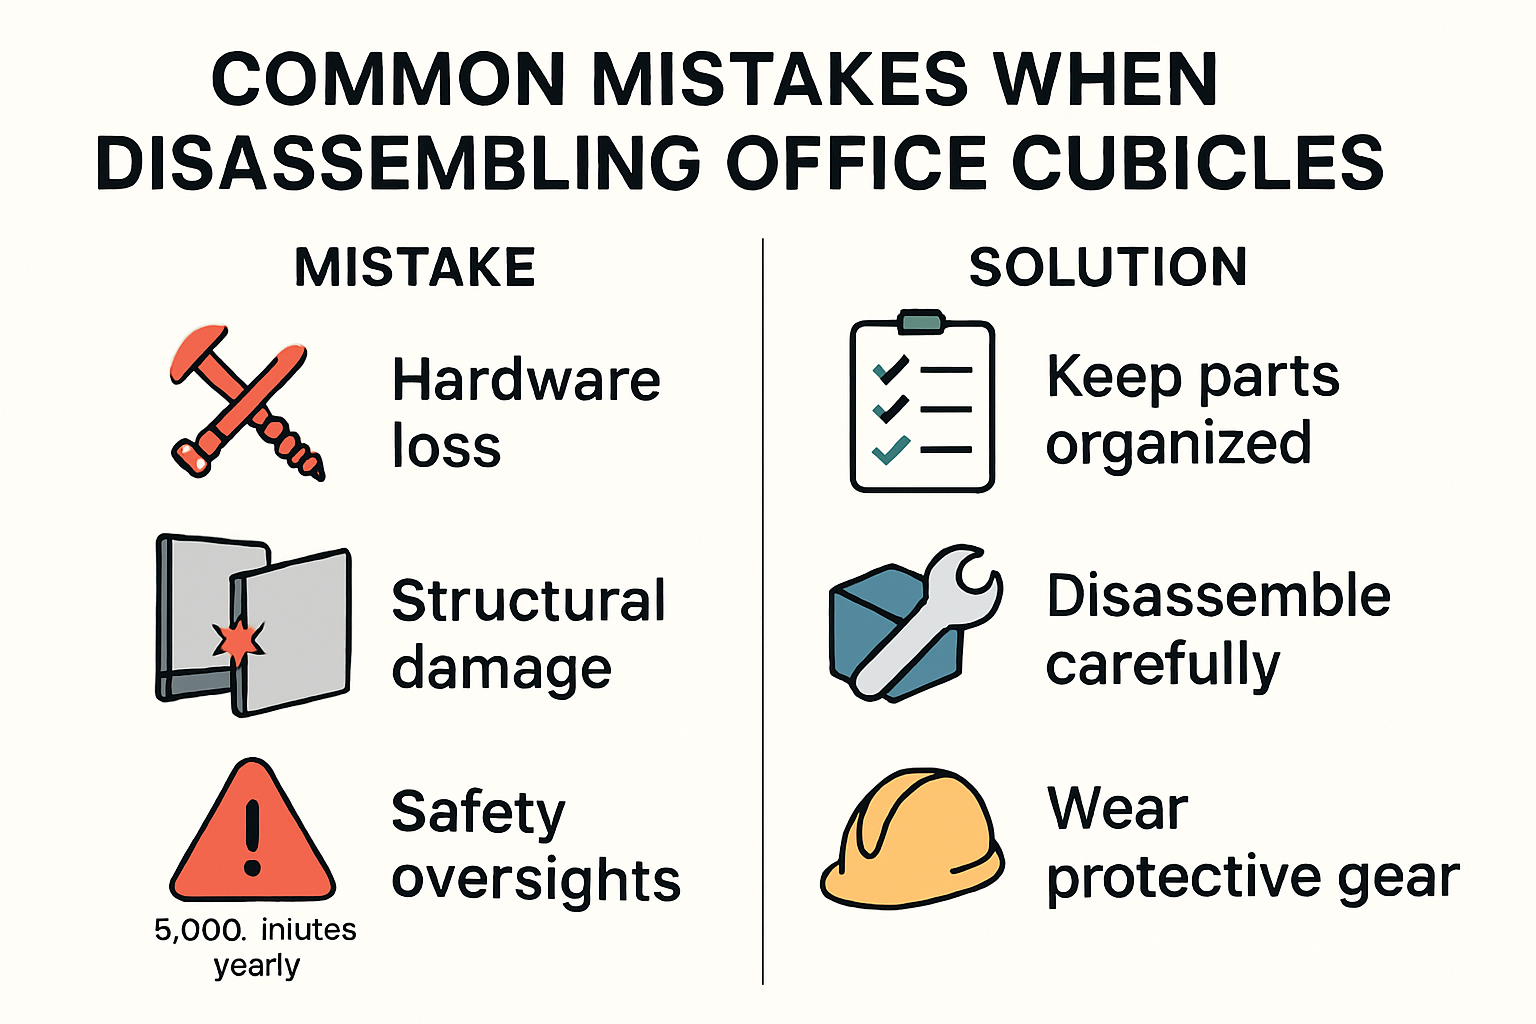
| Common Mistake | Solution/Tip |
|---|---|
| Structural damage from force | Inspect connections, use correct tools, avoid aggressive pulling |
| Losing/mixing hardware | Use labeled bags/containers; keep sets separate |
| Inadequate documentation | Take photos, draw diagrams of original configuration |
| Moving heavy components alone | Assess weight, seek help, use proper lifting techniques |
| Neglecting personal safety gear | Wear gloves, closed-toe shoes, safety glasses |
| Rushing process | Work methodically, prioritize patience and organization |
Take time to prepare, stay organized, and prioritize both equipment integrity and personal safety throughout the cubicle disassembly journey.
Frequently Asked Questions
How do I safely disassemble office cubicles?
To safely disassemble office cubicles, gather essential tools like screwdrivers and safety gear. Clear the workspace, document the configuration with photos, and follow a systematic disassembly process, removing components from top to bottom while organizing hardware in labeled containers.
What are the essential tools needed for cubicle disassembly?
The essential tools needed for cubicle disassembly include Phillips and flathead screwdrivers, an adjustable wrench, an Allen key set, work gloves, safety glasses, and a measuring tape to ensure accurate reassembly.
What common mistakes should I avoid when disassembling cubicles?
Common mistakes to avoid include applying excessive force when removing components, losing or mixing hardware, not documenting the original configuration, and neglecting safety measures. Always work methodically and prioritize organization and safety throughout the process.
How can I manage cubicle parts after disassembly?
After disassembly, manage cubicle parts by sorting them into reusable, recyclable, and disposable categories. Organize hardware in labeled containers, consider donating intact parts, and contact local recycling centers for proper disposal of materials that cannot be reused.
Ease the Stress of Cubicle Disassembly With Next Door Mover
Disassembling office cubicles can quickly become overwhelming. One wrong move or lost screw can delay your entire relocation and cost you valuable time and resources. If you are worried about handling awkward panels, keeping track of hardware, or ensuring equipment integrity, you are not alone. Many businesses face these headaches when managing office moves. Professional expertise and proper organization can make a real difference when it comes to a seamless transition.

Let the experienced team at Next Door Mover manage your office furniture disassembly and reassembly so you can focus on your business. We handle every step, from careful documentation and safe packing to secure transport and responsible disposal. Whether your company is moving within New Jersey or planning a larger relocation, request a free quote today and discover how stress-free moving can be with trusted professionals by your side. Don’t risk costly mistakes or unnecessary downtime. Book your move now and keep your business running smoothly.